
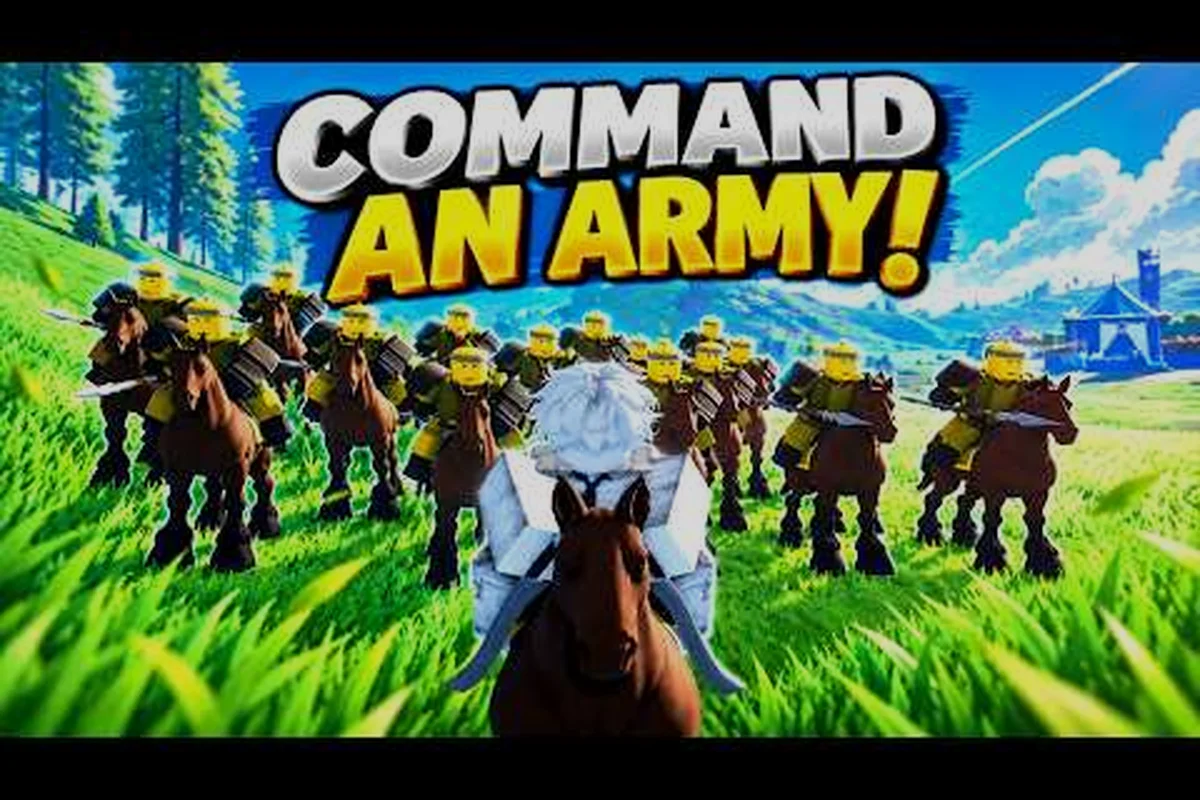
The first ten minutes of any Command An Army match decide whether you spend the rest of the round recovering or pushing the enemy line. According to community testing, the players who treat the opening phase as a structured routine—joining the right side, securing early recruits, and issuing smart formation orders—consistently outscore chaotic joiners by a wide margin. This Command An Army how to get started playbook walks you through the exact opening sequence so your first ten minutes feel like a plan, not a panic.
What to Do First When You Join a Command An Army Match
The lobby screen hands you three choices that shape everything downstream: side, class priority, and starting troops. Most new players ignore these and mash "Ready" within five seconds, which is why they end up playing catch-up the whole round. The opening move is choosing between Attack and Defend because each side loads different spawn points and victory conditions. According to the official Command An Army page on Roblox, the team-vs-team format splits players into two factions that fight over captured zones, so your side choice decides whether you push forward or hold ground.
Players often ask what to do first when the timer starts, and the answer is the same every time: recruit before you move. A short troop count gets shredded by any organized squad, so the first thirty seconds of a Command An Army match should be spent near your spawn's recruiter NPC adding units to your squad.
Open With the Right Recruit Order
Recruit priority matters more than raw unit count because the Star Limit caps how strong any single unit can become. According to All Things How's breakdown of Star Limits and Classes, each class—Melee, Ranged, Cavalry, and Special—has its own upgrade ceiling, and mixing too many roles early wastes the limited Stars you start with. A balanced opener looks like this:
| Recruit Order | Class | Why It Comes First |
|---|---|---|
| 1st | Melee | Soaks damage and holds the front line while ranged units set up |
| 2nd | Ranged | Adds chip damage from safety and pressures the enemy spawn |
| 3rd | Cavalry | Flanks and chases down broken enemy lines |
| 4th+ | Special | Fills gaps once core roles are covered |
Star economy is the hidden resource in the opening, and early mistakes are punishing because every Star spent on a 5th Cavalry unit is one fewer Star available to upgrade a Ranged or Melee troop past the 2-Star ceiling. Holding a balanced three-class core (Melee + Ranged + Cavalry) before touching a 4th Special means your army survives the first wave instead of being melted by enemy snipers who can out-range and out-DPS a Cavalry-only squad within seconds of the match starting.
Pick a Side Based on Your Squad, Not Your Mood
Some players default to Attack because pushing feels exciting, while others hide on Defense because losing a hold feels worse than losing a push. The smarter question is which role matches your current loadout. The table below summarizes when each side gives you the cleanest opening.
| Side | Best For | Risk If You Pick It Wrong |
|---|---|---|
| Attack | Fast Cavalry, Ranged-heavy squad | Wasting time on a long push with no Melee anchors |
| Defend | Melee-heavy squad, cautious opener | Sitting still while the enemy captures every point |
| Either | Balanced 2-Melee / 2-Ranged core | Lowest ceiling but also lowest variance |
If your Command An Army starter roster is still thin, Defend is the safer opener because you only need to hold three capture points in place, while Attack has to break a fully-stocked enemy defense by pushing through their frontline and contesting those same zones under fire. New players on Attack without a Melee anchor will bleed momentum, since a slow push means the enemy Support unit keeps feeding the front, making it a lot harder to close out the match before the timer.
Command An Army Attack Guide: How to Break the Enemy Line
Attacking without a plan is how rounds snowball against you, since wasted troops cost you Momentum and respawn timers that the enemy frontline uses to push back. The standard Attack opening in this Roblox strategy battlegrounds game follows a strict three-step tempo — Build-up (0:00–1:00), Push (1:00–2:30), and Cleanup (2:30–4:00) — that experienced players repeat every match to keep formation commands like Follow, Rush, and Hold chained together without overlap.
| Phase | Time Window | Goal | Formation Call |
|---|---|---|---|
| Build-up | 0:00–1:00 | Recruit 3-4 troops, clear forward sight lines | Follow |
| Push | 1:00–2:30 | Cross the mid-line, take the first capture point | Rush |
| Cleanup | 2:30–4:00 | Hold the captured point, peel enemy reinforcements | Hold |
The Rush command is the one new attackers misuse most often. Triggering it while your squad is still near spawn just feeds troops into the enemy Ranged line for free, so always wait until at least one Melee unit is in front of the squad.
How to Read the Enemy Defense Before Pushing
A short scouting pause saves minutes of wasted troops. Before issuing the first Rush, spend five to ten seconds on the enemy front line confirming three concrete details — the ranged unit count, any open flank lane for a Cavalry wrap, and the cooldown state of enemy Special-class units — because each one of those checks directly maps to a specific counter-command (Ranged trade, side-path commit, or Follow spread) that prevents a clustered wipe. Skipping that pause is the single most common reason a first-minute push turns into a Star deficit the attacker spends the next two waves trying to recover.
-
Ranged count — if you can see three or more ranged troops, wait for your own Ranged to trade shots first instead of charging in blind.
-
Flank openings — Cavalry wins through the side paths, not the main choke, so look for an open lane before committing the squad.
-
Special-class cooldowns — enemy Specials can wipe a clustered rush; spread your troops with the Follow command before you call Rush.
When the enemy Defense loses two or three melee blockers inside the first 90 seconds, their passive Star income drops by roughly one pip every 8-10 seconds while your surviving Ranged keeps firing uninterrupted, so the gold swing compounds and even a failed follow-up Rush still leaves you with enough resources to rebuild a mixed squad of Ranged and Cavalry for the second wave — that tempo loss is exactly what turns a 1:1 trade into a 3:1 round swing.
Command An Army Defend Guide: How to Hold the Line
Defense looks passive on paper, but the openings that win rounds are aggressively timed. A defender who sits behind the capture points the entire match hands every zone to the enemy by default. The real opening sequence is anchor, then counter.
| Defense Phase | Action | Formation Call |
|---|---|---|
| Anchor (0:00–0:45) | Plant Melee on the closest capture point, Ranged behind them | Hold |
| Trade (0:45–2:00) | Let enemy troops walk into your Ranged line, fall back if Melee breaks | Follow |
| Counter (2:00–3:30) | Once enemy squad is half-depleted, push them off the point | Rush |
The biggest beginner mistake is holding the Hold command the whole round. Holding is great for surviving the first wave, but if you never swap to Rush, the enemy just keeps feeding small units into your line until their squad respawns and overpowers you.
Anchor Picks That Win the First Two Minutes
Not every class anchors equally in the opening two minutes. Solo-hold strength is shaped by a unit's HP pool, point-contest damage output, and how easily it gets peeled by Cavalry flanks — which is why a single Melee like a shielded Spearman can out-anchor a full Ranged squad that lacks frontline cover, while a lone Cavalry drifts off-contest the moment enemy mounted units push through. The table below ranks classes by how well they hold a capture point solo in the opening.
| Class | Anchor Strength | Why |
|---|---|---|
| Melee | ★★★★★ | Soaks damage, blocks chokepoints, draws fire off Ranged |
| Cavalry | ★★☆☆☆ | Too mobile, drifts off the point on its own |
| Ranged | ★★★☆☆ | High damage but dies fast without a Melee screen |
| Special | ★★★★☆ | Strong utility, but limited by Star cap early |
A 2-Melee / 2-Ranged anchor setup covers both ends of this ranking and gives you a clean transition into a counter-push around the two-minute mark. Place the two Spearmen shoulder-to-shoulder on the capture point to absorb Cavalry charges, while your Ranged units deal damage from behind the screen and use their superior point-contest DPS to stall any Special-class unit trying to flip the point.
Command An Army Strategy Guide: Formations and Calls
Formations are the language your squad speaks. Four commands exist—Follow, Hold, Attack, and Rush—and each one changes the squad's behavior. Learning when to swap between them is the single biggest skill jump in the opening ten minutes.
| Formation | Behavior | Best Use Case |
|---|---|---|
| Follow | Troops mirror your movement, staying in formation | Crossing open ground without breaking formation |
| Hold | Troops stay planted at their current spot | Anchoring a capture point, waiting for the enemy to commit |
| Attack | Troops seek out the nearest enemy unit on their own | Punishing an exposed flank, chasing down runners |
| Rush | All troops sprint toward your cursor | Committed push on an objective, all-in plays |
Reading the Mini-Map to Time Your Formation Swaps
A surprising number of openings collapse because the player issues Rush while looking at their own troops instead of the mini-map. The mini-map shows where enemy squads are clustering, which is the signal you need to swap from Follow to Hold before you walk into a trap.
-
If you see three or more red dots bunched on the lane ahead, Hold your troops and let the enemy waste their Rush cooldown first.
-
If the mini-map shows a flank is empty, send Cavalry through it with Attack while the main squad Rushes the front.
-
If the capture point icon turns neutral, the enemy just committed elsewhere—Rush the point before they rotate back.
If you want a deeper breakdown of how these formations interact with the map rotation, the Command An Army map rotation guide covers which lanes reward aggressive openings and which ones force a defensive start.
Common Opening Mistakes and How to Fix Them
Even players who memorize the wiki still bleed Stars in their first three matches because Command An Army punishes hesitation, not ignorance — a squad built around five of the same class, for example, loses the Melee/Ranged/Cavalry triangle the mode is balanced on, and calling Rush from spawn typically feeds your frontline into a 2v1 collapse before round one's 60-second timer expires. The table below flags the top opening errors seen in early Diamond lobbies, plus the cheapest fix you can apply in under a minute.
| Mistake | Why It Hurts | Fast Fix |
|---|---|---|
| Recruiting 5 of the same class | Wastes Stars on redundant roles | Recruit in the 1-Melee / 1-Ranged / 1-Cavalry pattern first |
| Calling Rush from spawn | Feeds troops into the enemy line for free | Move to mid-line before issuing Rush |
| Never swapping from Hold | Loses points by default, no counter pressure | Switch to Rush after the first enemy wave is half-spent |
| Ignoring the mini-map | Walks into ambushes and 3v1 fights | Glance at the mini-map every 10–15 seconds during the push |
| Burning codes on the wrong unit | Spends 500 Gems on a recruit you'll replace in two minutes | Save codes for the strongest class you can afford after round 1 |
Redeemable codes like WAR, RELEASE, BUGFIX, LEBALANCE, and CONQUEST drop 150–500 Gems each according to Game Rant's active Command An Army codes list. Spending those Gems on your first three recruits is fine, but banking them for a stronger unit after you've seen the round-one meta pays off more in the long run.
How to Adjust When the Opening Goes Wrong
Sometimes the enemy team is just better organized, and your clean opener still loses the first point. The recovery is the same every time: pull back with Follow, regroup at your anchor, and let the next respawn wave refill your squad. New players often panic and Rush straight back in, which is exactly how a 0–1 deficit turns into a 0–4 wipe. Patience in the recovery window wins more rounds than aggression in the wrong window.
Frequently Asked Questions
What should I do first in Command An Army as a brand new player?
Recruit before you move, in this order: one Melee, one Ranged, one Cavalry. This trio covers front-line holding, chip damage, and flank pressure while staying inside your starting Star Limit. A balanced opener is the foundation of any Command An Army what to do first plan because a single-class squad gets deleted by any organized enemy team within the first minute.
Should I attack or defend in my first Command An Army match?
Defend is the safer opener for a new squad because you only need to hold three capture points, while Attack has to break a fully-stocked enemy line. If your roster is already stacked with Cavalry and Ranged, Attack becomes the better choice because the longer push rewards mobile classes that can flank and chase. The decision comes down to your class mix, not your mood.
How do I use Rush without throwing my squad away?
Only call Rush after at least one Melee unit is in front of your squad and the enemy Ranged line is occupied. Using Rush from spawn or against an unseen flank is the most common Command An Army attack guide mistake and feeds troops into the enemy for free. A timed Rush through a scouted opening converts into a capture point every time.
What is the best formation swap for a defensive opening?
Start on Hold with a 2-Melee / 2-Ranged anchor, then switch to Follow once the enemy commits to the first wave. After their squad is roughly half-depleted, swap to Rush for a clean counter-push. This Hold → Follow → Rush chain is the core of every working Command An Army defend guide because it turns a passive setup into a punishing counter.
Where can I find working codes and updates for Command An Army?
The official Command An Army Discord is where the developer posts new codes, balance changes, and event timing first. Community data from that Discord and the active code lists show that codes expire without warning, so redeeming them on the day they drop is safer than banking them for later.