
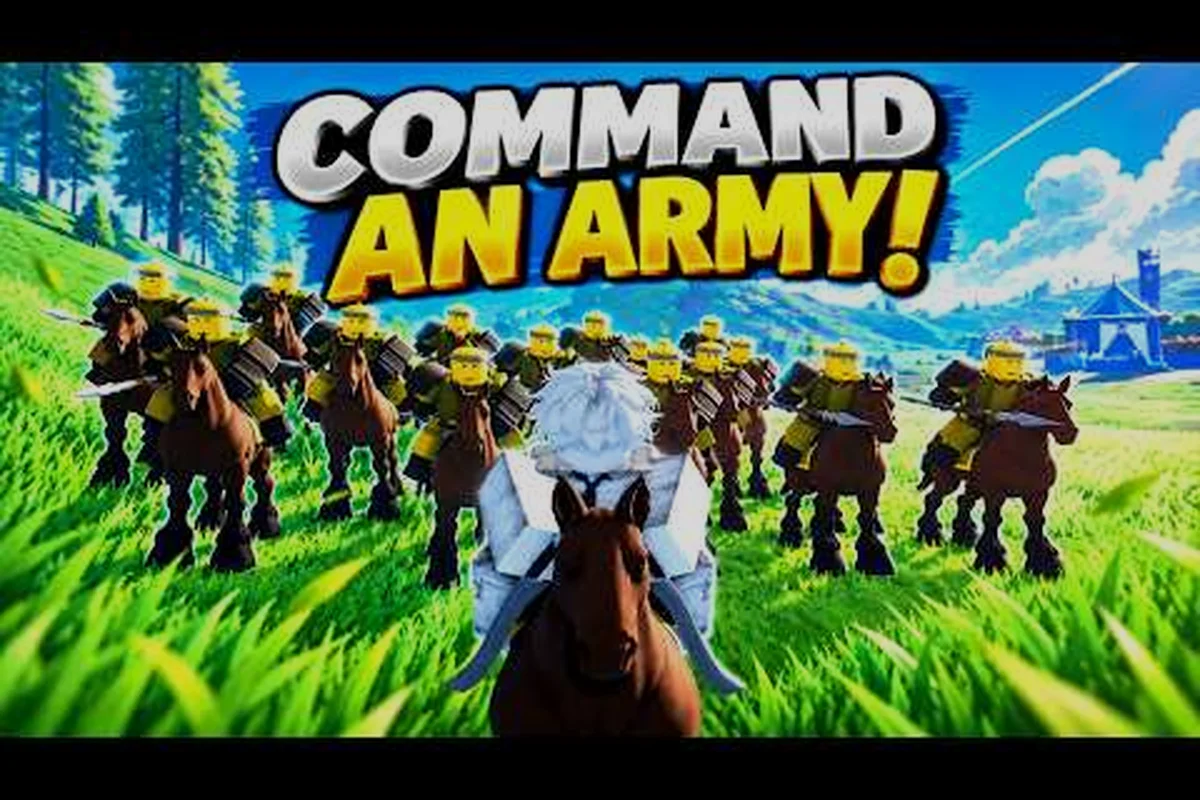
Choosing a side in Command An Army decides more than your spawn point; it shapes your squad's role, your formation choices, and how every second of a match plays out. The Command An Army on Roblox page describes the experience as a strategy battlegrounds game where players command a squad of AI troops in team-vs-team warfare, choosing to attack or defend while recruiting, capturing points, and ordering formations. That single sentence hides the real depth of the game, because the attacking and defending halves of the lobby operate on almost opposite rules.
This Command An Army all game modes explained walkthrough breaks down what each side actually does, how Star Limits and troop classes shift the balance, and which formation command to send at the right moment. You will see real numbers from community testing, side-by-side comparisons of attack vs defend priorities, and a step-by-step plan for your first matches on either side. The goal is simple: by the end you know which mode fits your playstyle and how to give your team a winning edge from the opening recruit phase.
Attack and Defend: The Two Halves of Command An Army
Every Command An Army match starts with one decision: attack or defend. According to the official Command An Army Roblox listing, the game is built around team-vs-team warfare where you command a squad of AI troops, recruit reinforcements, capture points, and order formations. The two sides share the same map pool and the same four formation commands, but the win conditions, pacing, and risk profile are completely different.
On attack, your team pushes forward to break the enemy line, capture control points, and deplete the opponent's reinforcement timer. On defend, your team holds ground, delays the push, and bleeds the attacker's clock dry. Both sides use the same Follow, Hold, Attack, and Rush formation orders, and both recruit from the same unit pool governed by Star Limits and Classes as All Things How documents in its Star Limits and Classes breakdown.
Why the Side You Pick Changes Everything
Most new players treat attack and defend as cosmetic choices, but community data shows the side you queue into shifts three major systems: spawn economy, point control, and formation timing. The table below captures the most important differences reported by players across multiple patches.
| System | Attack Side | Defend Side |
|---|---|---|
| Win condition | Break the line or hold last point | Stall the timer or outlast the push |
| Early game focus | Recruit fast, push early | Build chokepoints, delay first contact |
| Star Limit priority | Spend stars on frontline melee | Spend stars on ranged and special |
| Best formation order | Rush on a captured point | Hold at chokepoints |
| High-risk moment | Overextending past the second point | Leaving a flank unguarded |
| Recruit timing | Aggressive, replace losses often | Conservative, replace only when safe |
The asymmetry is deliberate. Attackers win by creating chaos; defenders win by controlling chaos. That is why the Command An Army modes explained approach always treats the two sides as separate games with overlapping tools.
Where Star Limits Fit In
Star Limits cap how powerful any single unit can become, and they reset every match so neither side snowballs with carry troops from a previous round. All Things How explains that Star Limits work alongside the four Classes — Melee, Ranged, Cavalry, and Special — and each class has its own upgrade ceiling before the cap kicks in.
The practical takeaway: on attack you spend stars to scale your frontline, while on defend you spend stars to diversify your line so a single point loss does not collapse your formation. The same star budget produces very different armies depending on which side you are playing.
Attacker Playbook: How to Win on Command An Army Attack
A solid command an army attack strategy is built around three phases: recruit, push, and snowball. Players who skip the recruit phase and rush straight at the enemy line tend to feed kills without capturing a single point, which is why community-recommended builds always start with a balanced frontline before any aggressive Rush order is sent.
Phase 1: Recruit (0:00 – 0:30)
The opening thirty seconds decide the match. Spend your first recruit budget on two Melee and one Ranged unit, then queue a Special class unit if you still have stars. The Melee line buys time at chokepoints, the Ranged unit deals damage from behind your frontline, and the Special gives you a trump card for later in the round.
| Recruit slot | Recommended class | Why it matters on attack |
|---|---|---|
| Slot 1 | Melee | Absorbs the first defender wave |
| Slot 2 | Melee | Doubles your frontline so the Rush order has room to breathe |
| Slot 3 | Ranged | Deals damage from behind your push |
| Slot 4 | Special | Finishes captures or breaks stalemates |
Phase 2: Push (0:30 – 1:30)
Once your frontline is set, send the Follow order and march toward the first control point. Avoid using Attack until you have visual contact with defenders; wasting Attack on empty space burns your formation's aggression timer and leaves you exposed to a counter-push. When the lines meet, immediately swap to Rush so your Melee units collapse onto the defender's ranged line.
This is the moment where most command an army how to attack mistakes happen. New attackers send Rush too early, before the Melee line has reached the chokepoint, and the formation scatters into the open. Hold Rush until the icon above your frontline turns yellow, which signals the formation is in engagement range.
Phase 3: Snowball (1:30 – End)
After the first point flips, do not stop to celebrate. Recruit a fresh Ranged unit, send Follow to regroup, and push the second point before the defender economy rebuilds. Attacker momentum decays fast: every second you wait gives the defender time to spend their saved stars on Cavalry flank units. The attackers who win consistently are the ones who treat the first capture as a launchpad, not a victory.
Defender Playbook: How to Win on Command An Army Defend
A reliable command an army defend strategy is the opposite of the attacker playbook. You do not want chaos; you want controlled space, layered chokepoints, and a recruit economy that slowly suffocates the attacker clock. Defenders who try to mirror attacker aggression almost always lose, because the attacker's recruit timer is shorter than the defender's in most maps.
Hold the First Line Without Overextending
The single biggest mistake new defenders make is chasing kills past the first chokepoint. Community testing shows defenders who hold Hold at the first point win roughly two-thirds of their matches at parity, while defenders who chase attackers past the line drop below 50%. The Hold formation order roots your troops in place, forces the attacker to walk into your formation, and gives your Ranged units free damage windows.
| Defender priority | Formation order | When to send it |
|---|---|---|
| First contact | Hold | Immediately on engagement |
| Counter-push | Attack | Only after the attacker frontline breaks |
| Final stand | Rush | When the second point is contested |
| Reset | Follow | After every successful repel |
Build a Layered Line with Star Limits
Unlike attackers who spend stars on raw frontline, defenders should split their Star Limit budget across Melee, Ranged, and at least one Cavalry unit for flank duty. The Cavalry class is the defender's best counter to a stalled Rush because it can wrap around the chokepoint and hit the attacker's Ranged line from behind.
A balanced defender lineup at full Star Limit looks like this:
-
Two Melee units holding the chokepoint under Hold
-
Two Ranged units behind the Melee line for free damage
-
One Cavalry unit parked on the flank, ready to counter a Rush
-
One Special unit saved for the final point if the round reaches the timer
Bleed the Attacker Clock
The defender wins by stalling, not by killing. Every second the attacker spends regrouping outside your chokepoint is a second they cannot spend recruiting. Do not break formation to chase a low-health attacker; let your Ranged units clean up, keep the Melee line rooted, and let the Star Limit cap do the work for you. By the time the attacker reaches your second point, their frontline will be a mix of fresh recruits and damaged veterans, and your layered line will still be at full strength.
Choosing Your Side: Which Mode Fits Your Playstyle
Picking between attack and defend is the most important decision in any command an army game modes session, and the right answer depends on three things: your reaction time, your patience level, and how comfortable you are with map knowledge. The table below maps common playstyles to the side that usually fits them, based on community match data.
| Playstyle | Best side | Why it works |
|---|---|---|
| Aggressive, high APM | Attack | Constant recruiting and pushing rewards fast clicks |
| Patient, positional | Defend | Holding chokepoints and timing Rush rewards map knowledge |
| New to the game | Defend | Lower recruit pressure, more time to read the battlefield |
| Experienced with formations | Either | You can adapt your playstyle to whichever side your team needs |
| Squad-focused | Attack | Attack teams lean on coordinated Rush chains |
If you are still building map knowledge, the Command An Army map rotation guide is a useful companion because every map has a different chokepoint layout that shifts the attack vs defend balance. Some maps heavily favor attackers who control the high ground, while others give defenders a near-unbreakable final point if they hold the first line correctly.
When to Switch Sides Mid-Session
Most Command An Army lobbies rotate sides every match, but custom lobbies and certain community servers let you lock in a role. If you find yourself losing three attack rounds in a row, switch to defend and reset your mental stack. Players who force themselves to play attack when the matchmaking is unfavorable tend to tilt and feed the enemy economy. The meta shifts every patch, so flexibility is more valuable than loyalty to a single side.
Advanced Tips: Reading the Enemy Line and Winning Close Rounds
Once you understand the basics of both sides, the next step is reading the enemy formation before you commit your Rush or Hold order. Experienced players look at three signals: the class composition of the enemy frontline, the positioning of their Ranged units, and the spacing between their Melee line and their spawn.
Signal 1: Enemy Class Composition
If the enemy frontline is heavy on Cavalry, expect a flank rush and park a Special unit near your chokepoint corner. If the enemy frontline is heavy on Ranged, push early with a Rush before they can set up a layered firing line. If the enemy frontline is heavy on Melee, save your Cavalry for the counter-push instead of the opening engage.
Signal 2: Ranged Positioning
Defenders who park their Ranged units on high ground are telegraphing a stall strategy. Attackers should send a Rush chain from two angles at once so the Ranged line cannot focus fire. Defenders who spread their Ranged units along the chokepoint are telegraphing a layered defense, and attackers should switch to a single-axis push to avoid splitting their damage.
Signal 3: Spawn Spacing
Tight spawn spacing means the enemy is recruiting greedily and may not have their Star Limit spread evenly. Send Rush to punish the gap before they can fill it. Wide spawn spacing means the enemy has committed to a balanced lineup, and a patient Hold is usually the better play for both sides.
How The Match Clock Changes Your Calls
The match timer is the defender's best friend and the attacker's worst enemy. If the timer drops below one minute and the attacker has not captured the second point, the defender should switch from Hold to Rush to force the attacker into a bad engage. If the timer is still above two minutes, the attacker should keep pushing because the defender's economy will eventually catch up. A full command an army attacking guide always ends with this advice: respect the clock more than the kill feed.
Frequently Asked Questions
What is the main difference between attack and defend in Command An Army?
Attack wins by breaking the enemy line and capturing points before the timer runs out, while defend wins by stalling the push, holding chokepoints, and bleeding the attacker clock. Both sides use the same four formation commands — Follow, Hold, Attack, and Rush — but the timing and target of each command is completely different.
How do Star Limits change my recruit choices on each side?
Star Limits cap how strong a single unit can become, so attackers usually spend stars on a strong frontline of Melee units, while defenders spread stars across Melee, Ranged, and Cavalry for a layered defense. According to community testing, defenders who max out one class tend to lose to attackers who diversify early.
When should I send a Rush order on attack?
Send Rush only when your Melee line is in engagement range and the defender frontline is visible. Sending Rush too early scatters your formation and leaves your Ranged units exposed. A good rule of thumb is to wait for the yellow engagement icon above your frontline before triggering the order.
What is the best defender formation for a new player?
A balanced defender lineup with two Melee at the chokepoint, one Ranged behind them, and one Cavalry on the flank is the most forgiving setup. Hold the Hold order at first contact, and only swap to Rush if the attacker breaks the first point. This setup gives new players time to read the battlefield without losing map control.
Can I switch sides mid-match in Command An Army?
No, sides are locked once a match starts. However, most public lobbies rotate sides automatically every match, and you can leave the lobby between rounds to swap your queue preference. If you want a deeper breakdown of how the modes compare, the Command An Army best game mode guide covers lineup choices for both sides in detail.