
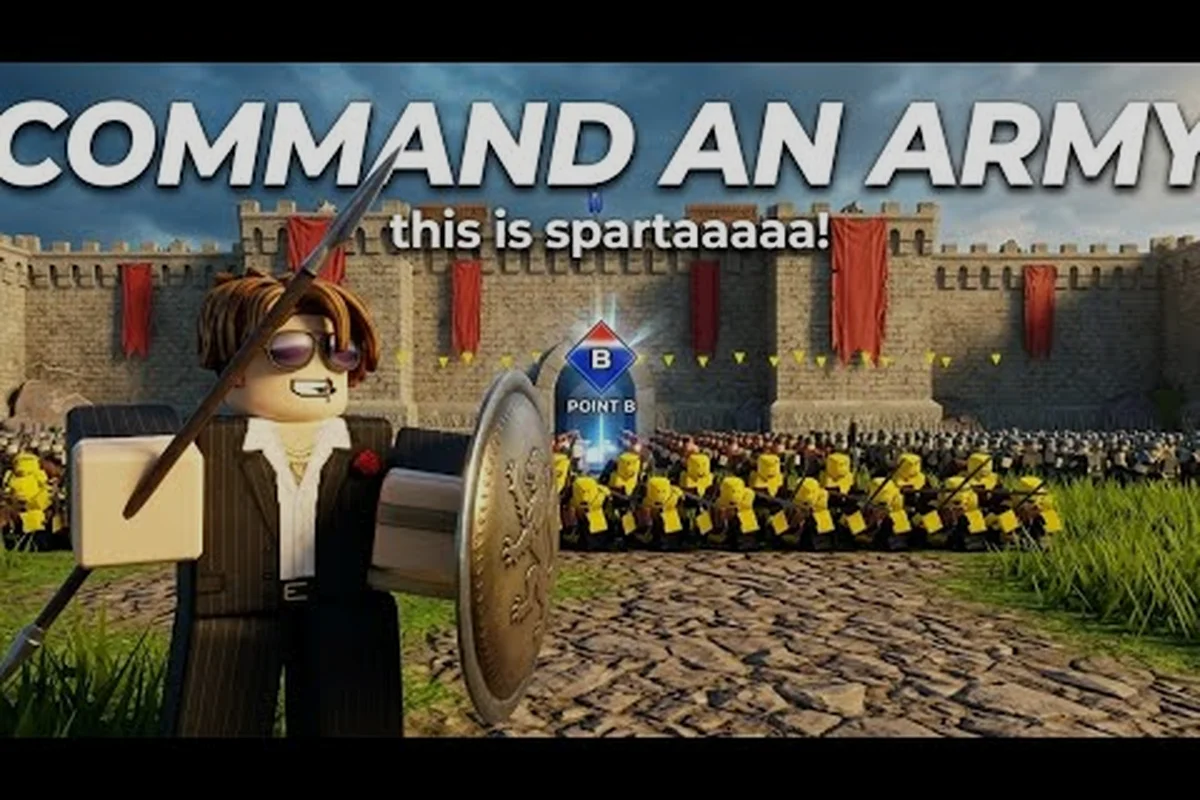
Holding a line in Command An Army looks easy on paper, but a real Command An Army defending win is built on layered calls, smart star-limit allocation, and the patience to wait for a counter-push window. Defenders win rounds by controlling the capture zone, reacting to formation swaps, and forcing the attacker to overcommit before swinging the fight. The catch is that every mode from solo queue to team battle pressures that line in a different way, so a flat "stand on the point" plan collapses fast against coordinated pushes. This guide breaks the defending game down by mode, formation, and troop class so you can stack the kind of rounds where attackers burn their star limit and walk away with nothing.
The Defending Win Condition Across Every Command An Army Mode
Before drilling into calls, you need a clear picture of what "defending win" actually means in each mode. The attacking team is rewarded for breaking through or capping a zone, while the defending side is graded on containment, survival, and denying capture progress. According to the Command An Army Roblox page, the game ships with a team-vs-team loop built around recruitment, formation orders, and point control, and the defending side is always reactive. That reactivity is what makes the mode so punishing to play without a plan.
Defend Mode In Team Battle
In Team Battle Defend Mode, the round clock runs against the attacker while you hold one or more capture zones. A defending win usually requires that the timer expires with the capture bar at zero, or that the enemy team is wiped before they can finish the cap. The longer the clock burns, the more attacker resources get wasted on trickle attempts, which is exactly what defenders want.
Capture Mode And Last Stand Variants
In Capture Mode, defenders rotate between contested points and have to decide whether to chase a recapture or fall back to a stronger zone. Last Stand flips the script: defenders usually have one life, no respawns, and a single hard point to hold. A Command An Army defending win in Last Stand hinges on economy: spend your star budget early, then save the elite troops for the final 30 seconds where most break-ins happen.
| Mode | Defender Win Condition | Key Pressure Point | Common Mistake |
|---|---|---|---|
| Defend Mode | Timer expires, capture bar unfilled | First 20 seconds of setup | Recalling troops off the point too early |
| Capture Mode | Hold majority of zones when timer ends | Mid-game rotation | Splitting troops across too many caps |
| Last Stand | Survive full wave sequence | Final 30 seconds of each wave | Burning elites on round one |
Reading The Attacker Formation Before You Counter
Most defenders lose because they react to what just happened instead of what is about to happen. A defending win in Command An Army PvP mode is built on reading the four formation commands the attacker is feeding their AI squad. The four core commands, Follow, Hold, Attack, and Rush, are documented in detail by All Things How's breakdown of star limits and classes. Once you can predict which command is coming next, your counter-call becomes almost automatic.
What Each Formation Command Tells You
The four commands shape an attacker's tempo more than the troop comp itself. Follow means the squad is hugging the player's positioning, which often signals a slow, layered push. Hold means the squad is anchored and waiting for the player to re-engage, which gives you a free window to reposition your own line. Attack is the bread-and-butter advance order, while Rush is the commit button: when you see Rush, the attacker is dumping star resources into one lane.
| Formation Command | What It Signals | Defender Counter | When To Use It |
|---|---|---|---|
| Follow | Layered, slow push | Split formation, kite from range | Mid-round stall |
| Hold | Regrouping, no push | Pressure a flank with cavalry | When you have star lead |
| Attack | Standard advance | Mirror Attack, hold the choke | Most of the round |
| Rush | All-in commit | Hold + counter-flank from behind | Final 20 seconds |
The 2-Second Read Window
Every attacker has a small tell between issuing a command and their squad actually executing it. Defenders who are staring at the enemy commander, not their own troops, can predict Rush before the AI starts sprinting. That 2-second read window is where defending wins get minted, because it lets you drop a counter-formation into the lane the attacker just abandoned.
Star Limit Spending On The Defending Side
A common mistake is treating the star limit like an offensive resource. In reality, star management is one of the most decisive levers in a Command An Army defending win. The star cap restricts how many elite troops you can field, and defenders who dump their budget on round one usually lose the rounds that matter most.
Budget Distribution By Round Phase
A solid defending budget splits cleanly across three phases. The opening phase should run cheap filler troops so you can scout the attacker's comp. The mid phase is where you start cycling in real units, especially cavalry and ranged. The final phase is where the elite anchors live, and where most defending rounds get closed out.
| Phase | Recommended Star Spend | Troop Type To Prioritize | Risk If Overspent |
|---|---|---|---|
| Opening (0-30s) | 1-2 stars | Cheap melee filler | Lose the star lead for clutch final phase |
| Mid (30-90s) | 3-4 stars | Cavalry + ranged | Mid game collapse, no anchor for late |
| Clutch (final 30s) | 5+ stars | Elites, special class | Wasted on round 1, no reserves for last stand |
When To Hold The Star Limit Instead Of Spending
If you see the attacker dumping their budget early, the best defending move is to do nothing on the star economy. Hold the limit, kite with one cheap squad, and let their AI crash into your chokepoint. By the time their final wave rolls around, your untouched star lead becomes the difference between a hold and a collapse.
Defending Solo Mode Vs Full Squad Play
A solo queue defender in Command An Army solo mode has to compensate for the lack of teammate pressure by leaning even harder on formation reads and choke control. Squad play, on the other hand, can spread across multiple lanes and absorb mistakes that would solo-delete a round. The defending win pattern is the same in both, but the execution looks different.
Solo Defender Habits
In solo mode, your AI allies are predictable: they will follow the default formation and not much else. That means you have to be the formation caller, the flanker, and the point holder all at once. The trick is to plant your main squad on the capture zone and use a single cheap melee troop as bait to draw the enemy into a bad lane.
Squad Defender Habits
In a premade squad, you can stack roles. One player anchors the point, another flanks, and a third babysits the star limit. The defending win usually comes from a coordinated counter-flank while the attacker is busy chewing through the anchor. Without that coordination, even a stronger squad loses to a smart solo defender.
| Playstyle | Defender Win Pattern | Key Habit | Common Failure |
|---|---|---|---|
| Solo Queue | Anchor + bait + kite | Plant main squad, scout with cheap melee | Trying to flank without a point holder |
| Duo Squad | Anchor + flanker | Sync formation calls on comms | One player overextends, gets collapsed |
| Full Squad | Layered hold + counter-flank | Star limit babysit role assigned | All three players stack the same lane |
The Command An Army Game Mode Tier List For Defenders
Not every mode rewards defending equally. Some modes, like Last Stand, are practically designed around defensive play, while others like Capture Mode reward quick rotations more than raw holds. A rough Command An Army game mode tier list from a purely defensive perspective helps you pick the rounds where your defending skill stack actually wins games.
Defender-Friendly Tiers
Last Stand is the gold standard for defensive play: one life, one point, no respawns, and a timer that bleeds attacker resources. Defend Mode is the next best, because the round clock does most of the work for you if you simply refuse to break. Capture Mode is mid-tier for defenders, because the rotation requirement forces you off your strongest positions. Solo queue is its own beast, since the defending win is more about personal reads than team structure.
| Mode | Defender Tier | Why It Favors Defense | Best Defending Troop Class |
|---|---|---|---|
| Last Stand | S | One life, no respawn, hard hold | Special class elites |
| Defend Mode | A | Timer pressure on attacker | Cavalry + ranged mix |
| Capture Mode | B | Rotation forces splits | Melee anchors |
| Solo Mode | B | Reads matter more than team comp | Cheap filler + one anchor |
| PvP Ranked | A | Higher MMR lobbies overcommit more often | Mirror comp with cavalry pivot |
Why Defenders Win More Often In Last Stand
Last Stand is built around attrition. Attackers have to spend star limit on every wave, and there is no respawn economy to bail them out when a push fails. Defenders, by contrast, can save the budget for the final wave and drop a counter-formation into the lane the attacker just emptied. Most Last Stand rounds are decided in the last 15 seconds, which is exactly the window where disciplined defenders have an untouched star lead.
Counter-Pushing The Attacker Without Overcommitting
A defending win does not have to be passive. The strongest defenders counter-push the moment the attacker commits a formation like Rush, because Rush usually means the AI is sprinting into a lane without rear support. That is the moment to mirror with Hold on your main squad and swing a small flanker into the attacker's backline.
Reading The Overcommit Signal
Overcommitment looks like three or more stars spent in a single lane within five seconds. When you see that, the attacker has effectively told you "I am empty for the next wave." Defenders who capitalize by pushing a flank during that exact gap are the ones who turn a held round into a wipe.
Counter-Formation Templates
The most reliable counter-formation is Hold on the point, Attack on a small flanking squad, and Follow reserved for cleanup. This template keeps your main anchor alive while a cheap squad pressures the attacker's backline. If you want a full defensive map breakdown of where to plant these squads, the Command An Army each map guide walks through every capture zone layout.
| Counter-Formation | Use It When | Risk | Reward |
|---|---|---|---|
| Hold + Flank Attack | Attacker dumps Rush | Flanker isolated | Backline wipe, attacker empty |
| Mirror Attack + Hold | Even star limit | Loses the point fast | Stalls until timer bleed |
| Full Surround | Last Stand final wave | All-in, no fallback | Wipes attacker's last squad |
| Kite + Recapture | Capture Mode rotation | Loses the first cap | Wins the rotation war |
The Defensive Lineup That Holds Points
A defending win is only as good as the troops standing on the point when the attacker arrives. Cavalry and ranged are the workhorses of a defensive lineup, because cavalry can rotate quickly to plug gaps and ranged can kite from behind a melee wall. Melee anchors are the actual point holders, since they survive long enough to bleed the capture timer dry.
The Four-Class Defensive Template
Pair one melee anchor with two ranged units and a single cavalry flanker. This four-class template covers every defensive job: the anchor holds, the ranged chip from behind, the cavalry rotates, and the flanker punishes overcommit. For a deeper dive on which specific troops to slot into those roles, the Command An Army tier list ranks the full roster by class.
When To Bring A Special Class Troop
Special class troops are the most expensive slot in your star limit, and most defending rounds do not need them. Bring a Special out only when the attacker is running a heavy cavalry comp, or when you are in the final wave of a Last Stand and the round is on the line. Spending that slot early in a Defend Mode round is one of the fastest ways to throw a holding pattern away.
| Defending Role | Class | Star Cost Range | When To Deploy |
|---|---|---|---|
| Point Anchor | Melee | 1-2 stars | Round start, every phase |
| Ranged Chip | Ranged | 1-2 stars | Round start, reposition on rotation |
| Flanker | Cavalry | 2-3 stars | Counter-push windows |
| Elite Closer | Special | 4-5 stars | Last wave, final 30 seconds |
Common Defending Mistakes That Throw Rounds
Even strong defenders throw rounds by repeating the same handful of mistakes. The good news is that all of them are easy to spot and fix once you have seen them a few times. A defending win rate jumps significantly when you cut these out of your rotation.
Mistake 1: Recalling The Point Squad Too Early
The most common throw is calling the main anchor back to "save" them right before the capture timer expires. The moment you recall that squad, the attacker walks onto the point uncontested. Hold the anchor until the round ends, even if it means losing the squad to a wipe.
Mistake 2: Spending The Star Budget On Round One
Spending four or five stars in the first 30 seconds of a Defend Mode round feels proactive, but it is actually a budget leak. Save the elite slots for the round phases where the attacker commits, and run cheap filler in the opening phase so you can react.
Mistake 3: Ignoring The Attacker Commander's Formation Calls
A lot of defenders focus entirely on their own troops and never look at what the enemy commander is doing. The four formation commands are public information, and reading them is the single biggest defensive advantage you can stack. If you want a deeper breakdown of how those calls play out on each map, the Command An Army game mode guide covers the formation reads in map-specific context.
| Mistake | Symptom | Fix |
|---|---|---|
| Recalling too early | Cap bar fills the second you leave | Hold the anchor to round end |
| Star overspend round 1 | No budget for clutch phase | Run 1-2 star filler early |
| Ignoring enemy calls | Surprised by Rush | Stare at attacker, predict the call |
| Chasing kills off the point | Cap bar creeps up | Stay near the zone, kite kills toward it |
Defending In Command An Army Last Stand Mode
Last Stand is the purest defensive mode in the game, and the mode where a disciplined defender racks up the most reliable wins. The format is simple: you have a single hard point, a fixed wave sequence, and no respawns. Every wave is harder than the last, and the attacker always has more troops than you do.
Wave-By-Wave Defending Plan
A solid Last Stand run uses the same three-phase plan every time. Wave one is filler only, no elites. Wave two is where you start cycling in cavalry to plug the rotation gaps. Wave three is the elite closer, where you drop your Special class anchor and let the timer do the rest. Most Last Stand rounds are decided by how disciplined you are with that wave-by-wave budget, not by how flashy your troops are.
The Final 30 Seconds Of The Last Wave
The last wave is where 80 percent of Last Stand rounds are decided. Attackers dump their entire remaining star limit into one last push, which means the lane they are not pushing is empty. Drop a cavalry flanker into that empty lane the moment the wave starts, and you will often wipe the attacker's backline before their main push reaches your point. For a deeper breakdown of which cavalry units to slot into that flanker role, the Command An Army best cavalry guide ranks every rider by matchup value.
| Wave | Defender Budget | Formation Call | Goal |
|---|---|---|---|
| Wave 1 | 1-2 stars | Hold | Scout attacker comp, no losses |
| Wave 2 | 2-3 stars | Hold + Attack mirror | Plug rotation gaps |
| Wave 3 (Final) | 5+ stars | Hold anchor, Attack flank | Wipe backline, bleed timer |
Frequently Asked Questions
What is the best formation command for defending in Command An Army?
The single most reliable defending command is Hold on your main anchor squad, because it forces your AI to stay on the capture zone and bleed the round timer. Pair Hold with a single Attack call on a cheap flanker squad so you can punish the attacker's overcommit windows without ever leaving the point. Most defending wins come from this exact template, layered across multiple phases of the round.
How do I win Last Stand as a solo defender in solo mode?
Run 1-2 star filler troops through the first wave and save your elite slots for the final wave, where the attacker always commits their full budget. Plant one melee anchor on the hard point, kite a single ranged unit from behind, and only bring out a Special class troop when the final wave begins. Solo defenders win Last Stand by being the last squad standing with stars in the bank, not by getting flashy picks early.
Is Defend Mode better for solo mode or PvP mode?
Defend Mode is stronger for solo queue in Command An Army solo mode, because the round timer does most of the heavy lifting and your AI allies do not have to make reads. In PvP mode, the same Defend Mode round plays out much faster because attackers coordinate formation calls, so you need to be faster on counter-formation swaps. Both modes reward disciplined defenders, but solo queue is more forgiving on mistakes.
How does the star limit change my defending strategy?
The star limit caps how many elite troops you can field at once, and defenders who overspend early in the round usually lose the clutch phase. A solid defending budget runs cheap filler in the opening 30 seconds, mid-tier troops through the middle of the round, and only drops the elite anchors in the final 30 seconds where the attacker is also committing. The Command An Army game mode tier list consistently ranks modes like Last Stand and Defend Mode as the most defender-friendly, because the star limit economy favors patience over burst.
What is the easiest way to start a defending win streak in capture mode?
Start every Capture Mode round by planting your main anchor on the point your team is most likely to hold, then send a single cheap flanker to scout the other contested zones. Do not rotate off the strong point until the round timer is past the halfway mark, and only swing your anchor into a recapture if the enemy team has clearly overcommitted on a different lane. That single habit of "hold strong, scout weak" is what separates a 50 percent defending win rate from a 70 percent one.