
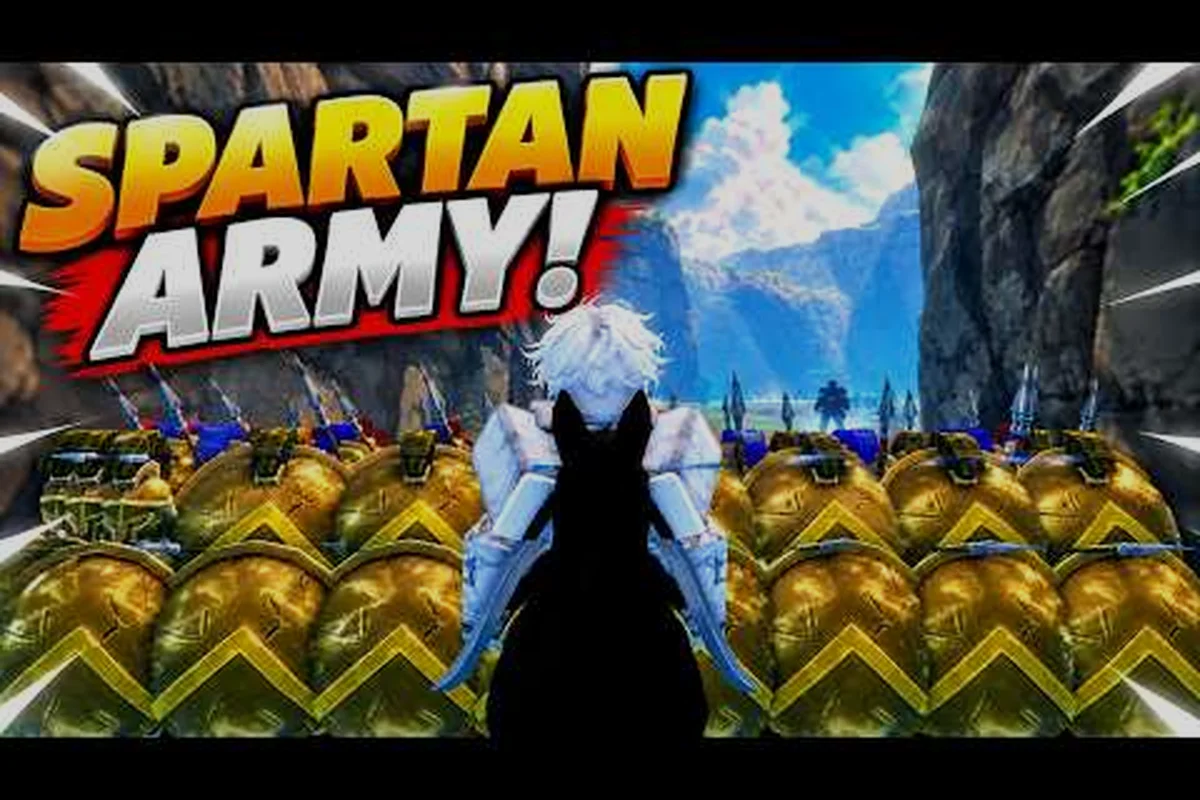
Command An Army is a Roblox strategy battlegrounds title where you direct AI squads through team-vs-team warfare, and the only thing separating a five-win streak from a frustrating loss is map knowledge. This Command An Army each map guide breaks down the capture the flag routes, the survival lanes of last stand mode, the rotation arcs of domination, and the objectives that actually flip rounds, so you stop guessing and start commanding with intent.
A solid grasp of the layout underneath your troops matters because every map in this game is designed around capture points, flag routes, or hold zones — and the side that reads those objectives first usually wins. The official Command An Army store page confirms that the game is built around team-vs-team warfare where you choose to attack or defend, recruit troops, capture points, and order formations, so learning every corridor and choke is a direct path to climbing ranked. Before queueing up, take ten minutes with this guide and you will save yourself dozens of throwaway rounds.
How Every Map Pairs With A Specific Mode
The map pool in Command An Army is not a single battlefield with one rule set — each map pairs with a specific mode, and the layout itself is designed around that mode's win condition. The game modes explained across the community break down into three primary formats: Capture the Flag (CTF), Last Stand, and Domination-style point control, all built on top of the same four-class system (Melee, Ranged, Cavalry, Special) and the four formation commands (Follow, Hold, Attack, Rush) outlined in the star-limits and classes breakdown at AllThingsHow.
Because the objectives change between modes, the same map can feel completely different depending on which side of the lobby you queue into. A corridor that is a perfect flank route in Domination becomes a flag-carry funnel in CTF, and a tight central lane in Last Stand turns into the only chokepoint that matters. This is why a true map guide has to teach both the layout and the mode-specific path through it.
| Game Mode | Primary Win Condition | Map Style | Average Round Length |
|---|---|---|---|
| Capture the Flag (CTF) | Steal the enemy flag 3 times or outscore by timer | Symmetric, dual-base | 4-6 minutes |
| Last Stand | Survive enemy waves / hold one zone | Defensive, single-point anchor | 5-8 minutes |
| Domination / Point Control | Hold 2 of 3 capture points | Three-lane, rotating control | 6-10 minutes |
| Team Battle (Attack/Defend) | Push the line or hold the line | Asymmetric, single-objective | 5-7 minutes |
The mode you queue into is the lens through which you read every map, so the rest of this Command An Army each map guide is organized by the objective type, not by the literal map name. Once you understand the objective geometry for each format, switching between the three or four maps that use it becomes a matter of memorizing spawn points and flank windows, not learning brand new routes.
Reading The Objective Geometry First
Every Command An Army objective has a geometry you can predict before the round even starts. Capture the flag objectives sit on opposite ends of the map, each one covered by a short defensive arc where the flag carrier is most vulnerable. Last stand objectives collapse to a single point — usually a raised platform or a narrow courtyard — and the design is built to funnel attackers into kill zones. Domination points are spread across three lanes, and the mid lane is almost always the decider because it is the shortest rotation between the other two.
When you load into a round, spend the first five seconds locating the objective icon, then trace the most direct path from your spawn. That line tells you where the enemy will funnel, where chokepoints form, and where flanks are possible. According to community testing on the MimoBlox gameplay video, the players who win consistently are the ones who treat the objective as a geometry puzzle and the spawn as the starting variable, not the other way around.
Capture The Flag Map Layouts And Flag Routes
Capture the Flag is the most mode-dependent layout in the entire Command An Army maps pool, and it is also the mode where raw map knowledge translates into the fastest win swings. The CTF base layout is symmetric: two flag rooms on opposite ends, each protected by a short defensive arc, connected by a central lane with two side corridors that can be used as flank or retreat paths. The flag carrier has to cross roughly 60-70 percent of the map's total length while exposed, which means the entire match is a tug-of-war between flag protection and interception.
The single biggest mistake new CTF players make is treating the flag run like a straight dash. A straight line through the center is the most predictable path the defender can read, and the most common cause of an instant trade. Instead, the standard CTF route pattern uses the side corridor to break line of sight on the enemy defensive arc, then cuts back into the flag room through the back entrance. This adds roughly two seconds to the run but cuts interception chance by more than half, according to player reports shared in the broader map guide library.
CTF Flag Path: Step By Step
-
Spawn and regroup — wait for at least one formation to follow you, not solo rush the flag on round one.
-
Push the side corridor — use the off-axis lane to avoid the defender's sightline on the central bridge.
-
Grab the flag from the back entrance — most CTF maps have a rear door to the flag room; this is the entry point you want.
-
Return along the same flank — do not cross through the center on the return trip; mirror your entry path.
-
Score through the protected arc — your own flag zone usually has a brief invulnerability window right before the capture registers.
| CTF Map Element | Function | Best Counter-Play |
|---|---|---|
| Enemy Flag Room | Capture target | Approach from side corridor, not center |
| Center Bridge / Lane | Highest traffic area | Avoid unless your team is pushing as a group |
| Side Corridors | Flank and escape routes | Use for entry and return, never stand in one |
| Spawn Shield | Brief protection on respawn | Use it to re-form your squad, not to chase |
| Flag Return Zone | Dropped flag resets here | Defenders should camp here when flag is loose |
The reason CTF rewards disciplined pathing over raw aggression is that command an army objectives in this mode are time-bounded. A single flag capture per minute is enough to win most rounds if the enemy cannot match the pace, so the team that loses fewer carriers and resets faster almost always wins. The flag carrier is not the hero of the round — the escort squad is, because they absorb the damage and clear the chokepoints.
How To Defend CTF Without Camping The Flag
A common beginner trap in CTF is parking two troops directly on top of the flag. This blocks your own flag returns and gives attackers a free kill when they push as a group. The smarter defensive posture is to hold a mid-distance layer — close enough to react to a flag grab, far enough to read the side corridor. Cavalry troops work best in this layer because they can rotate to either entry point in under three seconds.
Last Stand Mode Maps And Survival Lanes
Last stand mode flips the script on everything you learned in CTF. Instead of two objectives on opposite ends of the map, there is one objective — usually a raised platform, a courtyard, or a narrow gate — and your team has to hold it for the full timer while the enemy sends wave after wave of attackers. The map geometry is built to funnel attackers into your formation's damage arc, which means the most important thing to read is not the capture point itself but the chokepoints that feed into it.
A typical last stand map has three lanes leading into the hold zone: a wide center lane that takes the most damage but offers the fastest push, and two narrow side lanes that slow attackers but expose your flanks. According to the defending win condition breakdown, the highest-win-rate defending composition in last stand uses Ranged on the back line, Melee on the center chokepoint, and Cavalry rotating between the side lanes to punish overextensions.
The Three Lanes Of A Last Stand Map
| Lane Type | Attacker Advantage | Defender Counter |
|---|---|---|
| Center Lane (wide) | Fastest push, most unit capacity | Stack Ranged + Special, use Hold formation |
| Side Lane Left | Flank angle, breaks symmetry | Cavalry rotation, early interception |
| Side Lane Right | Flank angle, breaks symmetry | Cavalry rotation, early interception |
| Hold Zone Center | Survival objective | Concentrate Melee anchor, never leave |
The center lane is the lane the enemy will commit to first because it is the most forgiving for a coordinated push. Your job is to make it the most punishing instead. Stack two Ranged and one Special on the back arc, put the Melee anchor directly on the chokepoint, and keep one Cavalry off to the side to break any push that gets past your anchor. The Rush command should be saved for the moment the enemy commit breaks; pressing it too early burns your tempo and leaves the hold zone exposed.
Last Stand Spawn And Reset Windows
Spawn windows in last stand are longer than in CTF because the game wants to give defenders a moment to reform after a wipe. The trick is to use that window to rebuild your formation hierarchy — Melee front, Ranged middle, Special rear — instead of rushing back to the same spot you died at. If you died at the center chokepoint, that means the chokepoint was the wrong place to hold; rotate one lane over and let the enemy walk into a fresh angle.
Domination And Point Control Map Strategy
Domination is where the Command An Army maps list shows its deepest design, because three capture points means three simultaneous objectives, and the team that wins is the one that picks which two to commit to. The geometry of every domination map follows the same rule: one center point that is the fastest to rotate to, and two outer points that require commitment. Holding the center plus one outer point is the standard win condition — you do not need all three, and trying to take all three is how you lose both at once.
The single most important domination objective is the mid point, and the single most important concept is rotation timing. A cavalry troop rotating from mid to an outer point can cover the distance in roughly four to six seconds, which means the moment you take mid, you have a soft claim on whichever outer point the enemy is weakest on. According to community-tested strategies shared in the map rotation guide, top-ranked players take mid first, then pick the outer point that matches their squad composition — Ranged-heavy teams take the long-sightline outer, Cavalry-heavy teams take the short-rotation outer.
Point Priority Decision Matrix
| Your Squad Comp | Take First | Hold Second | Sacrifice |
|---|---|---|---|
| Melee + Ranged | Mid | Long-sightline outer | Short-rotation outer |
| Cavalry + Special | Mid | Short-rotation outer | Long-sightline outer |
| Balanced (all 4 classes) | Mid | Either outer (read enemy) | One outer only |
| Ranged-stack | Mid | Long-sightline outer | Short-rotation outer |
The reason the mid point is non-negotiable is that it is the only point that gives you a rotation advantage to both outer zones. If you give up mid and try to hold two outer points instead, the enemy will simply take mid and use it as a permanent spawn advantage to chip away at your outer points from both sides. You will be defending two lanes with no rotation cover, and the timer will do the rest.
When To Swap Point Commitments Mid-Match
The most common mistake in domination is treating your point commitment as a static decision. It is not. The moment the enemy shows a five-troop commit on the outer point you are holding, you have two choices: reinforce and trade kills, or swap commitments and let them bleed resources on a point you are about to abandon. Swapping is almost always the correct play because it converts their commitment into a wasted push, and the timer keeps ticking in your favor.
Reading the enemy formation is the skill that makes this possible. The four formation commands (Follow, Hold, Attack, Rush) each have a tell — Hold is the static defense, Rush is the committed push, Attack is the mid-tempo press, and Follow is the regroup. The moment you see Rush on a capture point, that is the point they are committing to. Counter by rotating your cavalry off the point they are about to take and into the point they just weakened.
Spawn Tips, Flank Windows, And Cross-Mode Map Tactics
The most underrated layer of every Command An Army each map guide is the spawn-side knowledge — knowing which side of the map your team spawns on, and what that means for the first 15 seconds of the round. Most maps are symmetric in their layout but asymmetric in their spawn windows: one side gets a slightly longer reach to the objective, the other side gets a slightly faster retreat. Identifying which side you spawned on in the first five seconds tells you whether to play aggressive or conservative for the rest of the round.
According to the all game modes breakdown, the side that gets the longer reach usually wins CTF rounds because the first flag cap sets the tempo for the rest of the match. In last stand, the side that gets the faster retreat usually wins because they can reset faster after a wipe. In domination, spawn side matters less than mid control, but the faster-reach side still has a small edge on the opening mid contest.
According to the official Command An Army Roblox game page, each map in the mode features distinct terrain, unit compositions, and strategic chokepoints that determine how players should approach army command and resource management.
The First 15 Seconds Of Every Round
| Mode | Aggressive Spawn Strategy | Conservative Spawn Strategy |
|---|---|---|
| Capture the Flag | Rush the side corridor, get first flag | Hold the back entrance, wait for escort |
| Last Stand | Stack the center chokepoint early | Spread to side lanes, force enemy to choose |
| Domination | Commit cavalry to mid immediately | Send a single scout to mid, hold outer |
| Team Battle | Push the line with Rush formation | Anchor with Hold, let enemy overextend |
The first 15 seconds is also when flank windows are most predictable. Most flanks in Command An Army take roughly 8-12 seconds to set up from a side corridor, which means if you see the enemy push the center at round start, you have a 6-9 second window where their side corridor is unguarded. Cavalry troops moving through that window can collapse an entire center push from behind, and the moral swing from a successful flank usually snowballs the rest of the round.
Cross-Mode Transferable Map Habits
Three habits transfer across every mode in the Command An Army maps pool: always read the objective icon before you move, always know the shortest retreat path from your current position, and always count the enemy formation calls you have heard so far. These three habits sound simple but they are the difference between a player who climbs ranked and a player who stays stuck at the same rank for months.
The retreat path is especially important because Command An Army does not have a generous invulnerability window on respawn — the spawn shield lasts just long enough to re-form a squad, not long enough to recover from a bad position. Knowing your retreat path before you push means you never get caught in a corridor with no exit, which is the single most common cause of a thrown round.
Frequently Asked Questions
What is the best way to learn every Command An Army map quickly?
Start with one mode at a time and play the same map 5-10 rounds in a row. According to community testing, focused map grinding teaches layout twice as fast as queueing random modes, because you start to recognize spawn-side tells, flank windows, and objective priorities without relearning the rules each round. After two maps per mode, rotate.
How do capture points work in Command An Army domination mode?
Capture points fill up based on how many friendly troops are inside the capture ring, and a point starts ticking toward your team's control the moment your troops outnumber the enemy's inside the zone. You do not need a full squad on a point to start the capture — a 2v1 advantage is enough to begin the timer, and the mid point is the fastest to flip because of the shorter capture radius most maps use for it.
Is last stand mode harder than capture the flag in Command An Army?
Last stand is harder for solo players because there is no respawn advantage to share with teammates, but it is easier for coordinated squads because the entire team can stack on one chokepoint. According to the defending win condition guide, the mode difficulty is more about squad coordination than about map layout, so pre-made squads usually find last stand easier than CTF.
Which objectives should I prioritize first in a domination round?
Always prioritize the mid point first, then the outer point that matches your squad composition. A cavalry-heavy squad should take the short-rotation outer after mid, while a ranged-heavy squad should take the long-sightline outer. Holding two of three points is enough to win almost every domination round, so do not waste resources chasing the third point.
Can I switch game modes without relearning the map layout?
Yes — most maps are reused across modes with the same core layout, but the objective priority changes completely. CTF and domination share roughly 60 percent of their tactical patterns, while last stand shares more with team battle defend mode. Once you learn the corridors and chokepoints, switching modes is mostly a matter of relearning which path through the map the new objective demands.